
Table of Contents
ToggleMoving into a new home is thrilling, until you flip the light switch and realize the previous owner left years of dust, grime, and mystery stains behind. Move-in cleaning isn’t glamorous, but it’s the foundation for settling into your space properly. Before you unpack a single box, a thorough clean protects your family’s health, prevents dirt from grinding into new flooring, and lets you spot maintenance issues early. Think of it as your first real maintenance inspection. This guide walks you through a practical, room-by-room strategy that saves time and ensures nothing gets missed.
Key Takeaways
- Move-in cleaning protects your family’s health by removing hidden dust, allergens, mold spores, and bacteria that accumulate in vacant or previously occupied homes.
- A thorough house move-in cleaning reveals maintenance issues early, such as mold, pest damage, or water stains, before furniture is moved in and the space becomes harder to access.
- Work top to bottom and back to front, allowing cleaners to sit for 15–20 minutes before scrubbing to break down stubborn grime in kitchens and bathrooms more effectively.
- Invest in proper tools like microfiber cloths, stiff-bristled brushes, and specialty cleaners rather than DIY hacks, and wear protective gear including N95 masks when dust or mold is present.
- Complete move-in cleaning while rooms are empty and utilities are live, prioritizing kitchen and bathroom deep cleaning first since they dry fastest and require the most attention.
Why Move-In Cleaning Matters
A house that’s been sitting vacant or occupied by previous tenants collects dust, pet dander, mold spores, and bacteria in places you can’t see. Baseboards, ceiling fans, inside cabinets, and ductwork become repositories for allergens and grime. Moving in without a deep clean means you’re literally unpacking boxes into a home that could trigger respiratory issues or allergies for weeks afterward.
More practically: move-in cleaning catches hidden problems. You might discover mold behind baseboards, pest droppings in cabinets, or stains on hardwood floors that indicate water damage. Addressing these early, before furniture is in place, is far easier than moving everything later. Also, appliances, fixtures, and surfaces that look “fine” from a walk-through may have hardened grease, lime scale, or buildup that shortens their lifespan if not cleaned immediately.
You also have a brief window where empty rooms are easiest to clean thoroughly. Once your life is unpacked into the space, deep cleaning becomes exponentially harder.
Essential Cleaning Supplies You’ll Need
Before you start, gather your arsenal. You don’t need specialty products for everything, most jobs are handled by a few versatile staples.
Core Supplies:
• All-purpose surface cleaner (spray-on liquid or concentrate)
• Degreaser (for kitchen appliances and stovetops: citrus-based degreasers break down baked-on grease effectively)
• Bathroom cleaner (formulated for soap scum, hard water deposits, and mildew)
• Toilet bowl cleaner (acidic formula cuts through rust stains and mineral buildup)
• Microfiber cloths (reusable, lint-free, and far superior to paper towels for streak-free results)
• Sponges or scrub pads (medium and stiff grades for stubborn buildup)
• Disposable gloves and safety glasses (protect skin and eyes from chemical splashes)
• N95 or P100 masks (essential if you suspect mold, dust, or pet dander)
• Vacuum with HEPA filtration (captures fine particles that standard filters miss)
• Mop and bucket (microfiber mop heads are washable and more effective than cotton)
• Broom and dustpan
• Ladder or step stool (essential for ceiling fans, light fixtures, and high shelves)
Optional but Helpful:
• Extendable duster for ceiling corners and ceiling fans
• Grout brush for tile work
• Squeegee for glass and shower doors
• Enzyme-based cleaner for pet-related odors or stains
Skip trendy “hacks” like baking soda and vinegar for heavy-duty work. That combination is fine for light maintenance, but it won’t cut through years of grease or disinfect effectively. Save your money and buy proper cleaners designed for the job.
Room-by-Room Cleaning Strategy
Kitchen and Bathrooms
These rooms demand the most attention and the strongest cleaners. They also dry fastest, so start here to maximize your time.
Kitchen:
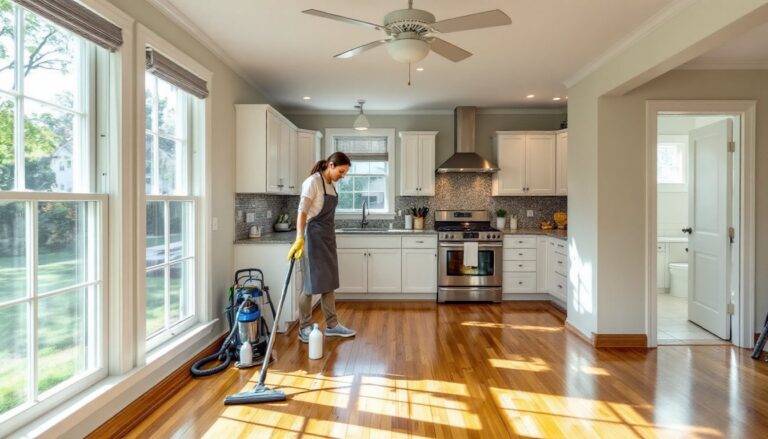
Empty all cabinets and drawers. Wipe the interior surfaces with a damp cloth to remove dust and debris, then dry with a microfiber cloth. Check for signs of pests, water damage, or mold. Wipe cabinet fronts and handles with all-purpose cleaner. For the stovetop and oven, apply degreaser generously and let it sit for 15–20 minutes before scrubbing: dried-on food requires time and elbow grease, not just spray-and-wipe. Clean the interior of the refrigerator with warm soapy water and a cloth, don’t forget the coils at the back or underneath, where dust accumulation reduces efficiency. For the sink, scrub with a stiff brush and bathroom cleaner to remove mineral stains, then rinse thoroughly. Microwave interiors often have splatters that need a damp cloth and gentle scrubbing. Countertops should be wiped and disinfected, paying attention to the backsplash and any transitions where grime collects.
Bathrooms:
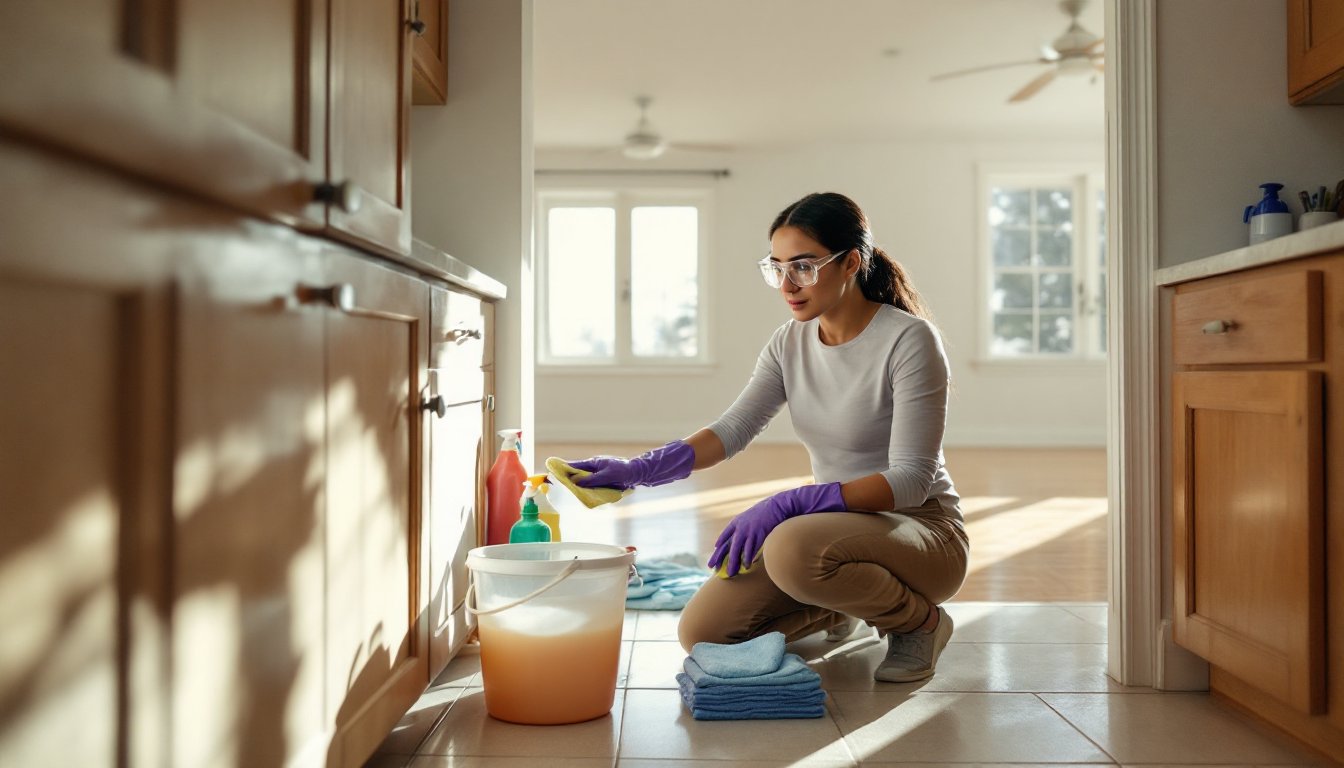
Start with the shower or tub. Apply bathroom cleaner and let it sit while you work on other areas. Return with a stiff brush to scrub tile grout, walls, and tub surfaces. For stubborn soap scum or hard water stains, a 1:1 vinegar-to-water spray followed by scrubbing helps, but if the buildup is severe, a specialized hard-water remover works faster. Don’t skip behind the toilet and in the corners. The toilet bowl gets toilet bowl cleaner applied inside, then scrub under the rim with a brush. Wipe the exterior with disinfectant. Mirrors and chrome fixtures should be cleaned with glass or all-purpose cleaner for a streak-free finish. Don’t forget the exhaust fan grille, dust accumulates there and reduces ventilation efficiency. Baseboards and corners where mold often hides need careful attention. If you see mold, use a mold-specific cleaner: if it’s extensive (more than 10 square feet), it may indicate a moisture problem that needs professional assessment.
Living Spaces and Bedrooms
These areas are usually faster to clean, but don’t skip the details.
Ceiling fans and light fixtures come first. Use an extendable duster or a cloth wrapped around your hand to capture dust before it falls. Baseboards, door frames, and windowsills accumulate surprising amounts of grime, wipe them with a damp microfiber cloth. Windows should be cleaned inside and out if accessible: a squeegee and glass cleaner make this faster and streak-free. Dust all shelves and built-in spaces thoroughly. Vacuum or sweep floors, paying attention to corners where dust congregates. For carpeted areas, vacuum thoroughly in multiple passes, once with the grain, once against it, to pull out embedded dust. If carpets smell stale or show stains, a carpet cleaner or professional service might be worthwhile before move-in.
Smart Tips for Faster, More Efficient Cleaning
Work top to bottom, back to front. Start with ceilings and high surfaces, letting dust fall to the floor. Clean the back of the house first so you don’t walk through cleaned areas.
Prep work saves hours. Before you spray anything, remove cobwebs with a duster, wipe vents and fan grilles with a cloth, and sweep loose debris. Then apply cleaners and let them sit. Most cleaners work better when given time to break down grime, don’t just spray and immediately wipe.
Use the right tool for the job. A microfiber mop on hardwood or tile is dramatically faster and more effective than a cotton mop. A stiff-bristled brush beats a sponge for grout or the toilet. A squeegee eliminates water spots on glass and showers far faster than paper towels. Invest in good tools and you’ll spend less time and get better results.
Wear proper PPE. Safety glasses protect your eyes from splashes. Gloves keep chemicals off your skin. If the house has been vacant, particularly in humid climates, or if you see or smell mold, wear a mask rated for particles (N95 or P100). Respiratory protection isn’t optional when dust or mold is present.
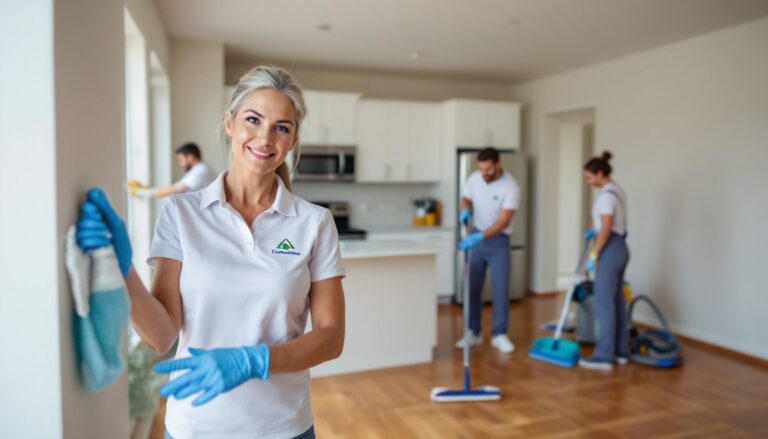
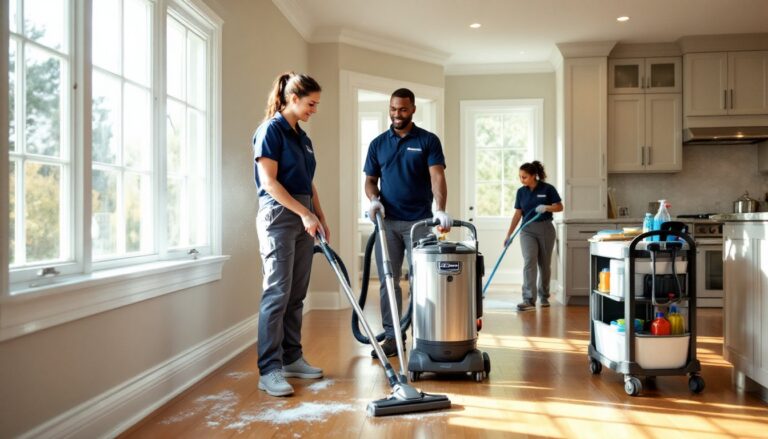
Recruit help. Move-in cleaning is genuinely faster with two people. One can tackle bathrooms while the other handles kitchens, then swap. It also keeps anyone from spending hours in a heavily chemical environment. Many households using home organization strategies also benefit from assigning roles upfront so everyone knows their zone.
Tackle odors last. If the house smells stale or musty, it’s often settled dust or poor ventilation, not permanent damage. Open windows while cleaning and let air circulate. If pet odors linger, cleaning tips from trusted home sources can recommend enzyme-based cleaners that break down organic compounds rather than just masking the smell.
Check your move-in timeline. Many homeowners also reference moving checklists and tips to coordinate cleaning with utility setup and other closing tasks. Ideally, clean before utilities like water and electricity are live so you’re not rushing. If that’s not possible, prioritize bathroom and kitchen access over perfection.
Conclusion
Move-in cleaning isn’t exciting, but it’s one of the smartest investments you’ll make in your new home. A clean house is healthier, reveals hidden problems early, and lets you truly settle in without inheriting someone else’s grime. Block out a weekend, gather supplies, work systematically from top to bottom, and don’t skip baseboards or hard-to-reach areas. Your future self, and your respiratory system, will thank you.